
Introduction: After 6 or 7 years of heavy outdoor use, my Blackstone flat-top griddle was showing its age. Weathering and rust spots had accumulated across the top, and it was long overdue for a total surface overhaul. I decided to tackle a full spring restoration using tools I had around the yard. Here is how the process went, the budget shortcut mistakes I made, and how to get your flat top cooking like new again.
Assessing the Damage
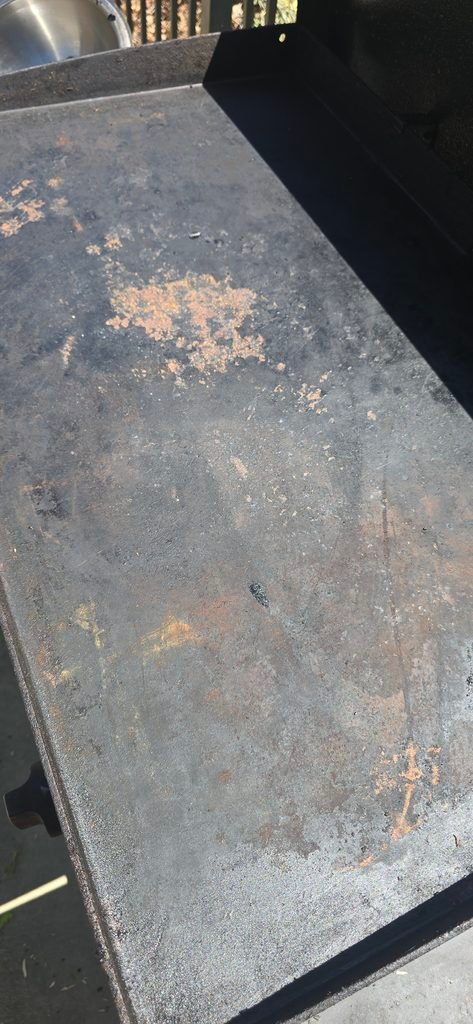
The Starting Point: Flaking seasoning, localized surface rust patches, and old burnt-on residue.
Rolled steel is tough, but when moisture sits under cracked seasoning, surface oxidation takes over fast.
The Sanding Process & My Budget Mistake


Hand-Sanding with What I Had: Wanting to keep costs down, I worked with sandpaper packs I already owned instead of buying new, specialized abrasive pads.
The Struggle: I went through two full packs of sandpaper. Using a lighter grit meant burning through sheets quickly and doing double the arm work to cut through the old carbon layer.
What I Should Have Used:
Wire Wheel / Stripping Disc: Attaching a wire wheel or poly-strip disc to a drill or angle grinder removes rust in minutes without gouging the metal.
Grill Stone / 60-Grit Sandpaper: If hand sanding, starting with a coarse 60-grit sandpaper or a pumice grill stone breaks through raw scale far faster.
Cleaning & Wiping Bare Metal

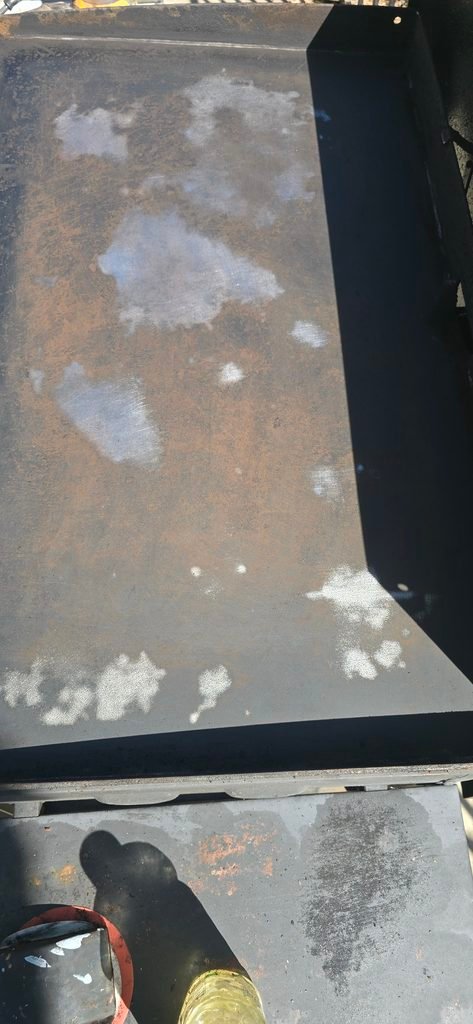
After sanding back as much rust as possible, you can see bright, bare steel peaking through the dark patina.
Crucial Step: Scraped off all loose dust and wiped the top down with paper towels and a light coat of water/vinegar to neutralize rust particles, followed immediately by drying it completely over medium heat to prevent flash rust.
Re-Seasoning the Flat Top
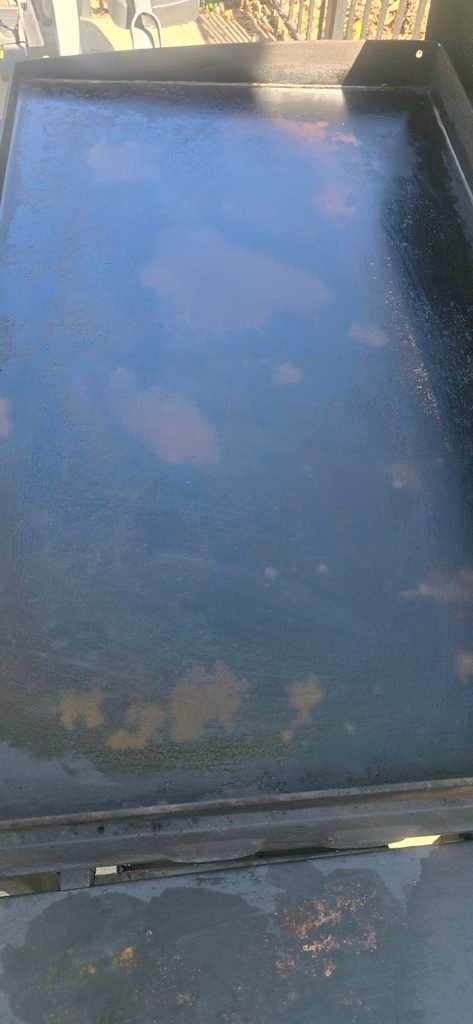
Fired up the burners to high heat until the bare steel darkened.
Applied 3 to 4 thin layers of high-smoke-point oil (like canola or Blackstone seasoning paste), letting each layer burn off completely until the smoke stopped.
The result is a smooth, protective dark sheen ready for smash burgers and breakfast spreads.
Final Takeaways for DIY Griddle Restorations
1: Don’t Skimp on Abrasives: Spending $10 on a proper drill wire attachment or coarse grill stone saves hours of hand fatigue.
2: You Don’t Need Perfection: Even if a few minor dark spots remain under the bare metal, a proper multi-layer oil seasoning seals the steel and restores non-stick performance.
3: Maintenance is Key: Keep it oiled after every cook and invest in a quality weatherproof cover to keep moisture off the steel!