
Introduction: Between recent construction projects and life getting busy, our outdoor curb appeal took a backseat for a bit. We wanted a quick way to bring vibrant color back to the front of our home—specifically along the driveway and along the back fence line. We chose Creeping Phlox (Phlox subulata), a colorful, ground-covering perennial that forms a carpet of blooms in early spring and stays green all season long.
Here is how we stripped the strip, prepped the soil, planted our phlox, and the weed barrier lesson we learned along the way!
Preparing the Ground: The Hard Work
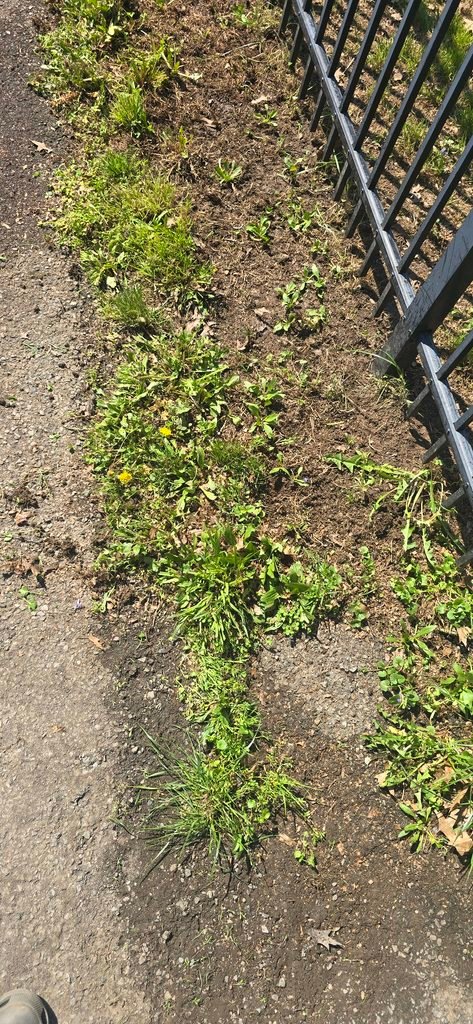
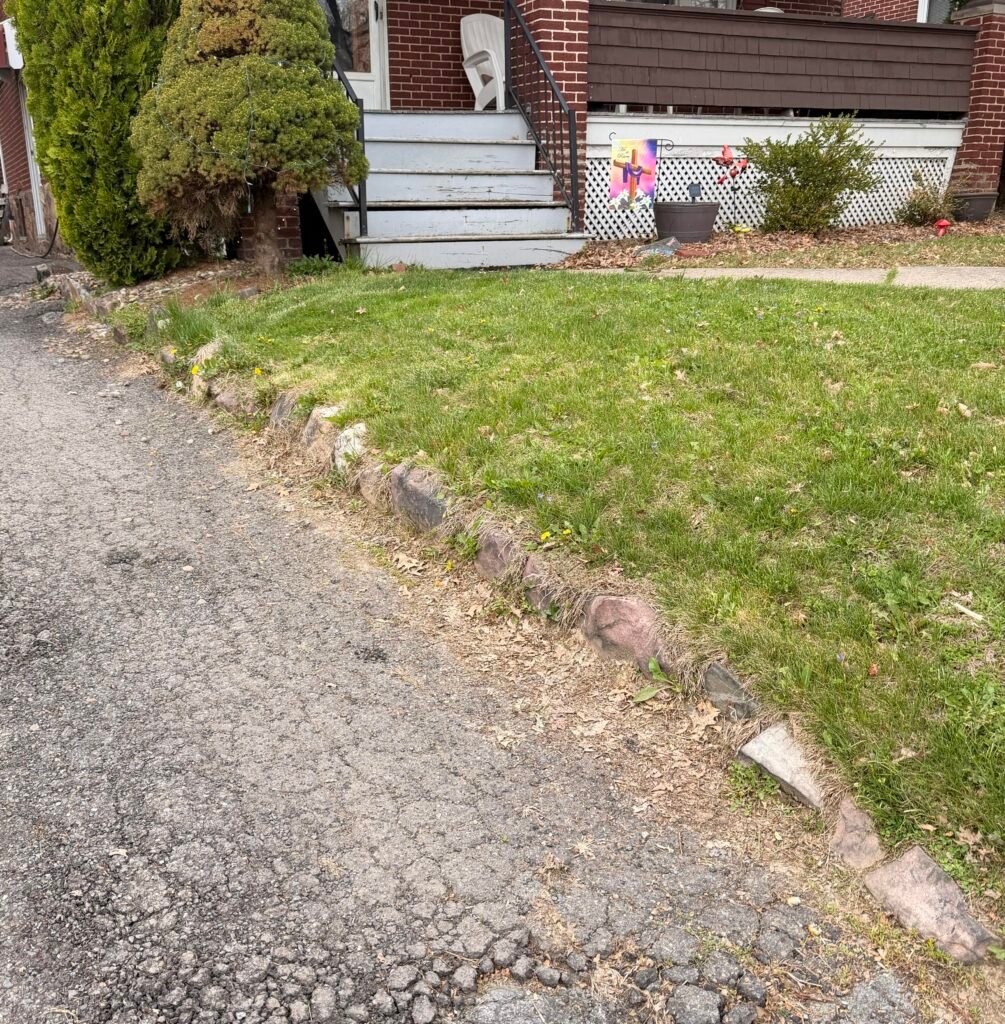
The Challenge: The narrow strip between our stone edging and asphalt driveway was packed with stubborn weeds, grass, and dry soil.
Tackling It Without Power Tools: We didn’t have a powered rototiller on hand, so we used a hand dethatching rake and manual tools to rip out the sod and weed roots.
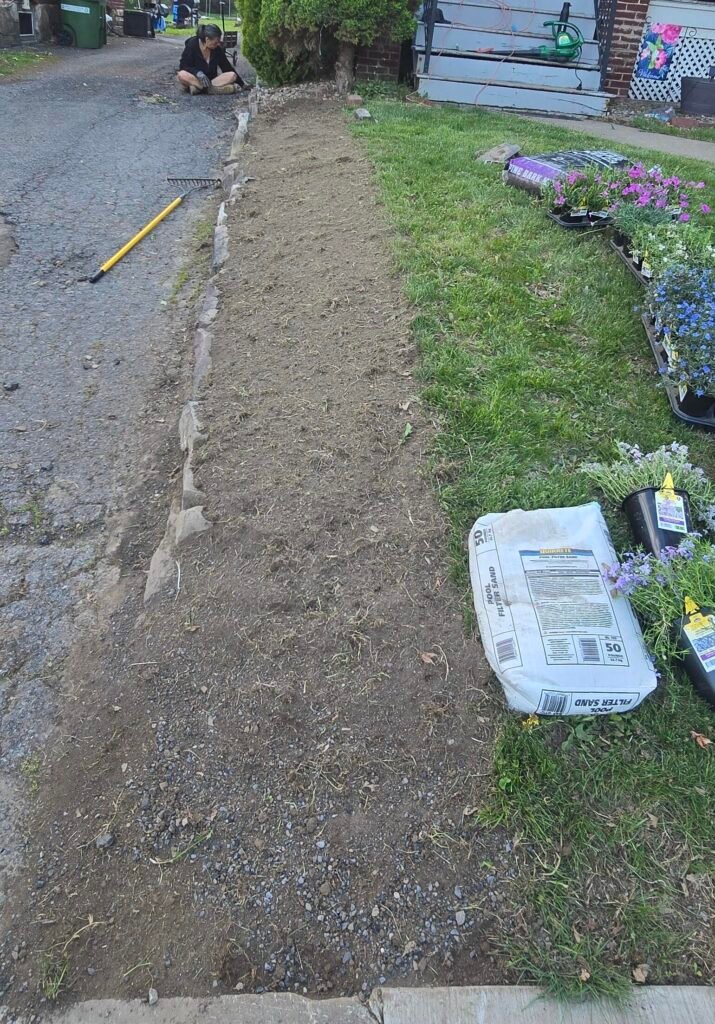
Lesson Learned: Working dry soil with a hand tool takes serious muscle! Pro Tip: Soaking hard-packed earth a few hours before digging softens the soil and makes pulling roots much easier.
Clearing to Bare Dirt & Spacing
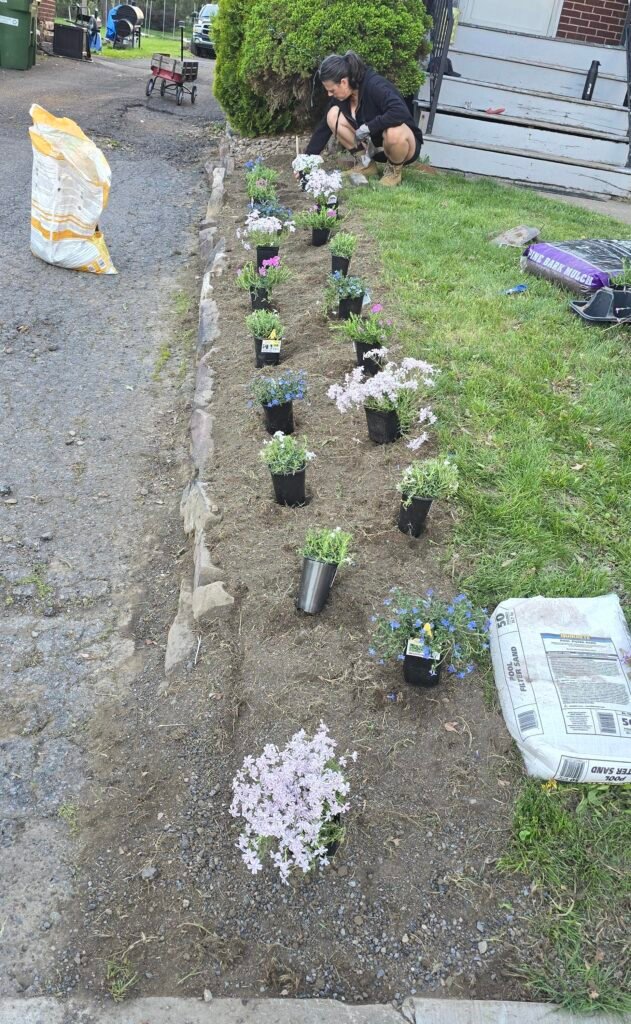
Once we scraped down to raw soil, we meticulously pulled out remaining grass clumps and weed roots.
Why Live Plants Over Seed? We opted for potted starter plants rather than seed because we wanted instant visual structure and spring blooms without waiting a year for seedlings to establish.
Ideal Phlox Spacing: Creeping phlox matures to a spread of about 12 to 18 inches wide. We staggered our plants roughly 12 to 15 inches apart in a slight zig-zag pattern. This gives each plant room to spread out into a continuous floral carpet over the next 1–2 seasons.
Planting with Bone Meal & Laying the Mulch
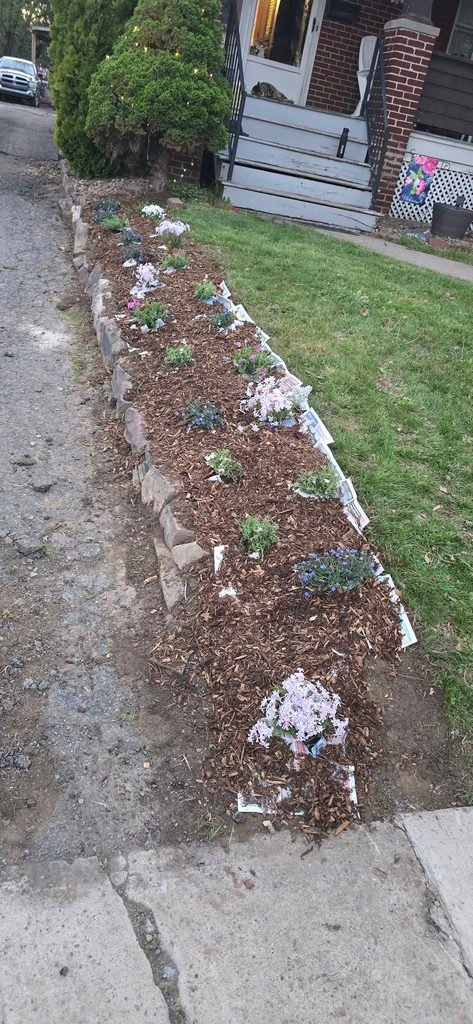
Root Boost: Digging each hole slightly wider than the container, we mixed bone meal into the planting holes. Bone meal provides slow-release phosphorus, which is essential for strong root establishment in new transplants.
Mulching & Newspaper: To suppress weeds, we laid down a layer of wet newspaper around the plants before covering everything with pine bark mulch.
Finishing the Back Fence Border
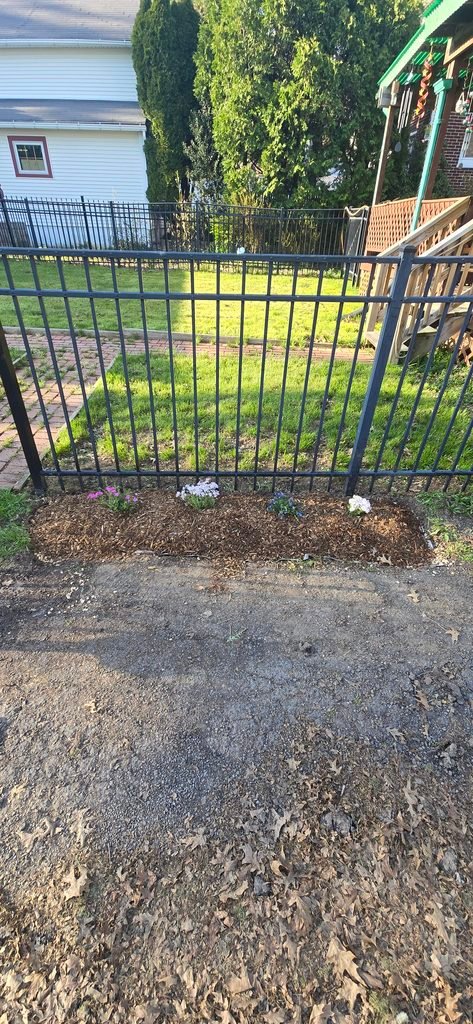
We repeated the exact same process along the base of our metal back fence to tie the entire driveway entry together.
The Cardboard Upgrade: Over the first few weeks, stubborn weeds started poking through the newspaper barrier. On our next pass, we upgraded to thick corrugated cardboard (with tape removed) under the mulch. Cardboard breaks down naturally over time while providing a much stronger weed barrier than single layers of newsprint!
Caring for New Creeping Phlox
Watering: We kept the plants well-watered for the first two weeks—giving them a deep soak every 2–3 days so the root systems could take hold.
Long-Term Care: Creeping phlox thrives in full sun and well-draining soil. Once established, it is remarkably drought-tolerant and low-maintenance.
Season Update: How They Look Now (1st day of Fall)
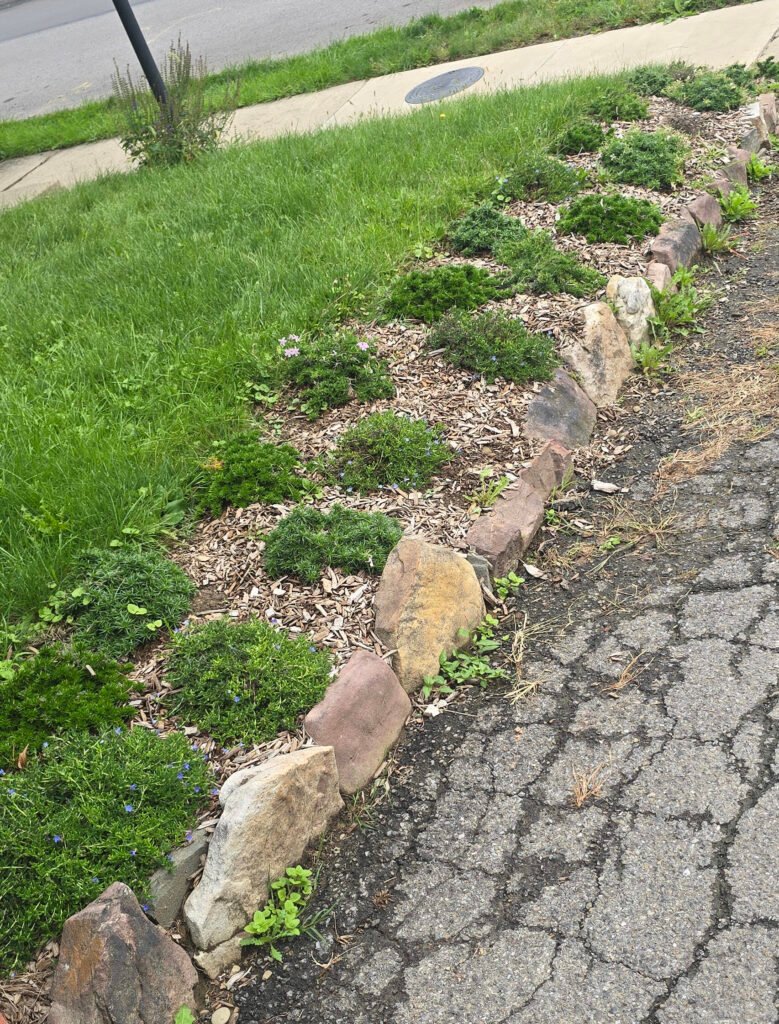
Watching these small starter plants fill out into healthy, green ground cover throughout the summer made all that manual raking worth it!