
Step 6: Blowing Out the Return Jets (One by One)
With the skimmer squared away, it’s time to move over to the pool walls and clear out your return lines.
Here is my routine for the jets:
- Remove the fittings: Take off the threaded jet fittings / eyeballs around the pool.
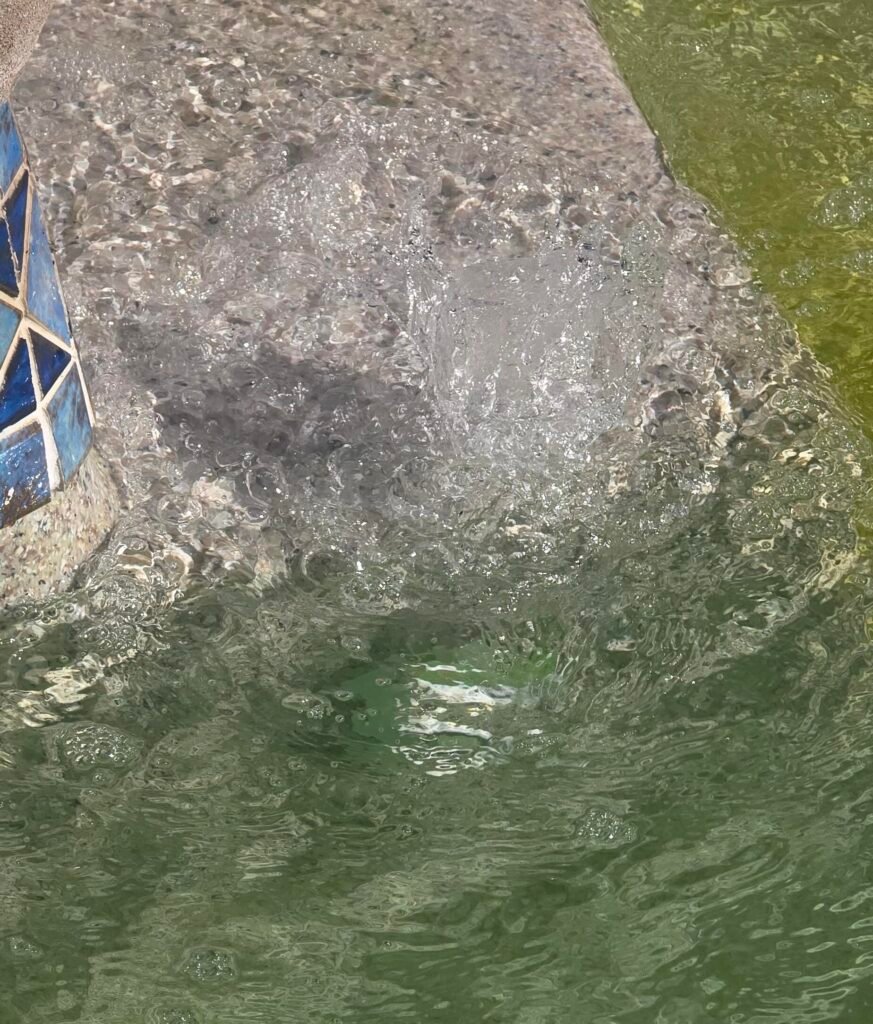
- Blow them out individually: Instead of trying to do everything at once, I tackle them one by one. I open up one return line valve at the equipment pad while keeping the others closed, let the air compressor push a steady stream of air through until it’s really bubbling and blowing hard at the pool wall, and then plug that jet tightly.
- Repeat the process: Move to the next return line, open it up until the air is really pushing through, close it out with a plug, and repeat for the final jet.
- Isolate the system: Before shutting down the air compressor, make sure you close off that return line valve at the pad so no water can siphon back into the pipes.
Photo with the air coming out of 1 return line, capped it once I see this.
Step 7: Final Equipment Draining & Winter Prep
To wrap everything up and ensure no trapped water expands and cracks your gear over the winter freeze:
- Remove the Pressure Gauge: Take the pressure gauge off your sand filter so it doesn’t hold moisture or get ruined by freezing temperatures.
- Drain the Chlorinator: Remove the drain plug/screw plug on your inline chlorinator so any residual water can completely drain out and stay dry.
- Open System Drains: Leave any other drain plugs or caps loose or removed around your pump and filter system so that if any rain or condensation sneaks in over the winter, it can freely drain right out instead of pooling inside.
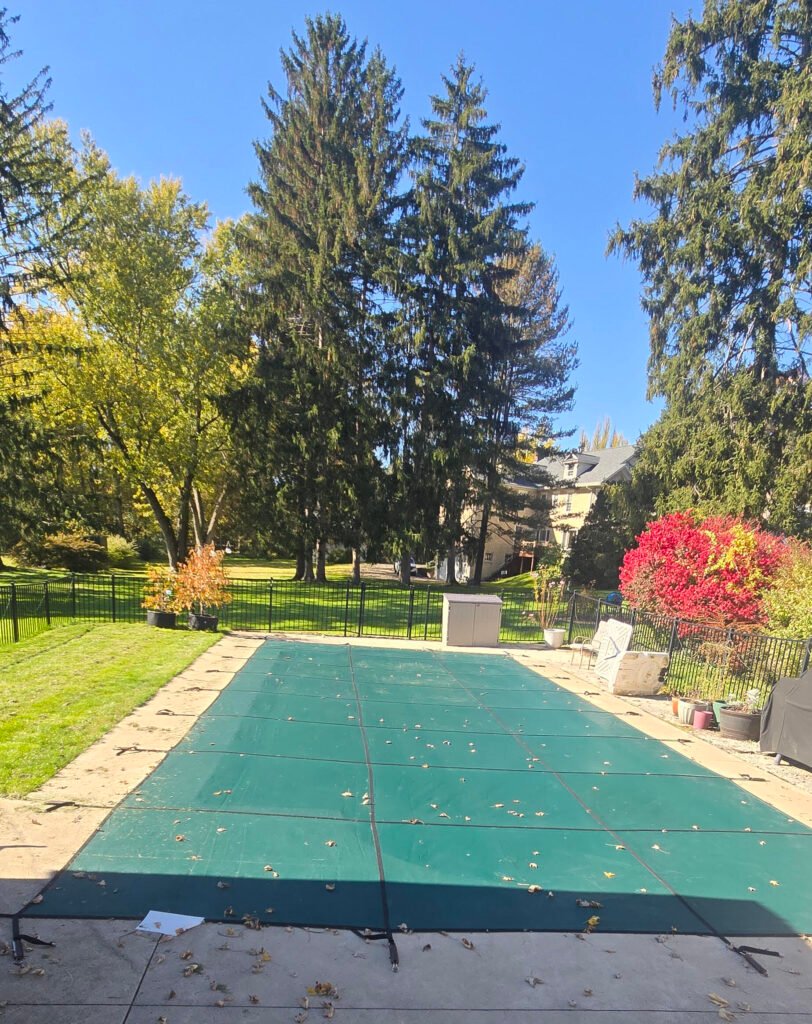
The Bottom Line: Save Your Cash and Take Control
At the end of the day, doing it yourself saves you quite a bit of money compared to what pool companies charge for a simple service call anymore.
Of course, it’s never a bad idea to have a professional come out every few years just to do a general health check on your system. But once you get the routine down, pool closing is an entirely manageable DIY job. Save yourself some cash, roll up your sleeves, and give it a try!