
It’s officially October, which means the grass growth is finally slowing down, cooler weather is setting in, and it’s time to start thinking about end-of-season equipment maintenance.
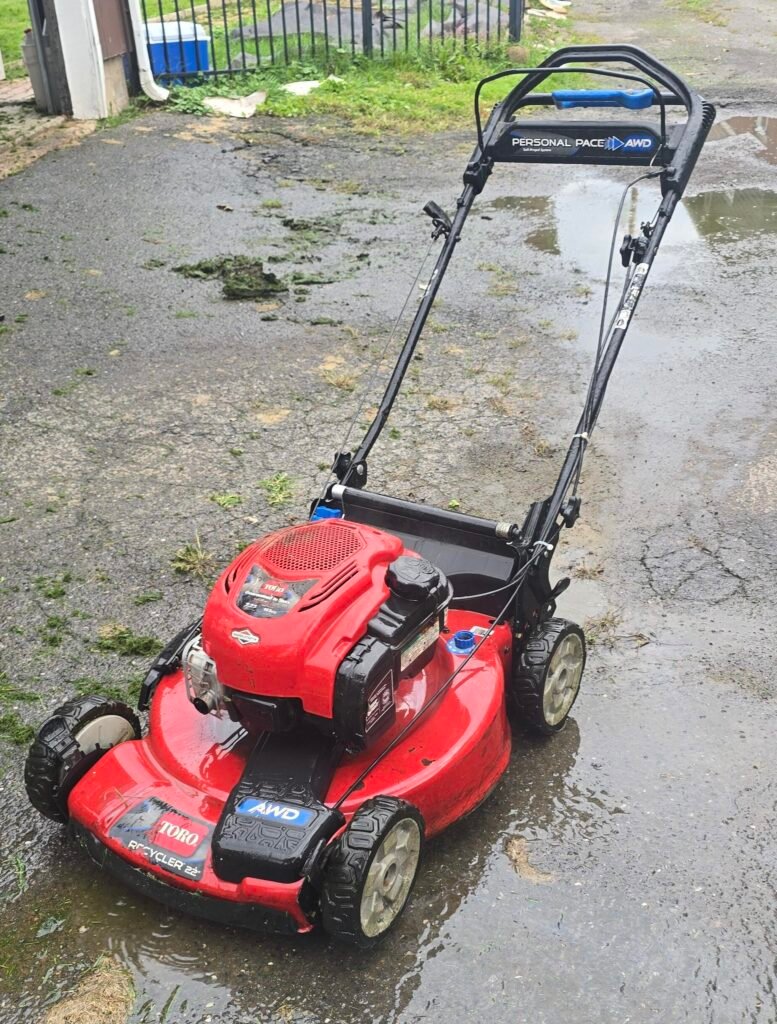
Taking an hour or two in the fall to properly clean, tune up, and store your lawn mower isn’t just about putting things away—it’s about protecting your investment. A little preventative care now ensures your mower fires right up on the very first pull next spring, saving you time, frustration, and expensive shop repair bills.
Here is my step-by-step checklist for putting your mower to bed for the winter, along with the reasons why each step matters.
Step 1: Clear Out Grass Clippings Underneath the Deck
Before putting your mower away, give the underside of the deck a thorough cleaning.

Why it matters: Wet grass clippings pack tightly against the metal deck during late-season mows. If left there over the winter, that trapped organic matter holds moisture like a sponge, leading to rust, flaking paint, and eventually rotting out the steel deck entirely.
How to do it:
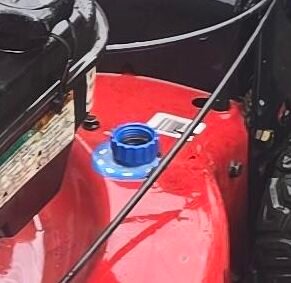
If your mower has a built-in deck washout port, hook up your garden hose while the engine is running to flush out the worst of the buildup. I use this after some uses, but I’m not consistent.
For the stubborn, caked-on grass, tilt the mower up and scrape the deck clean using a putty knife or deck scraper.
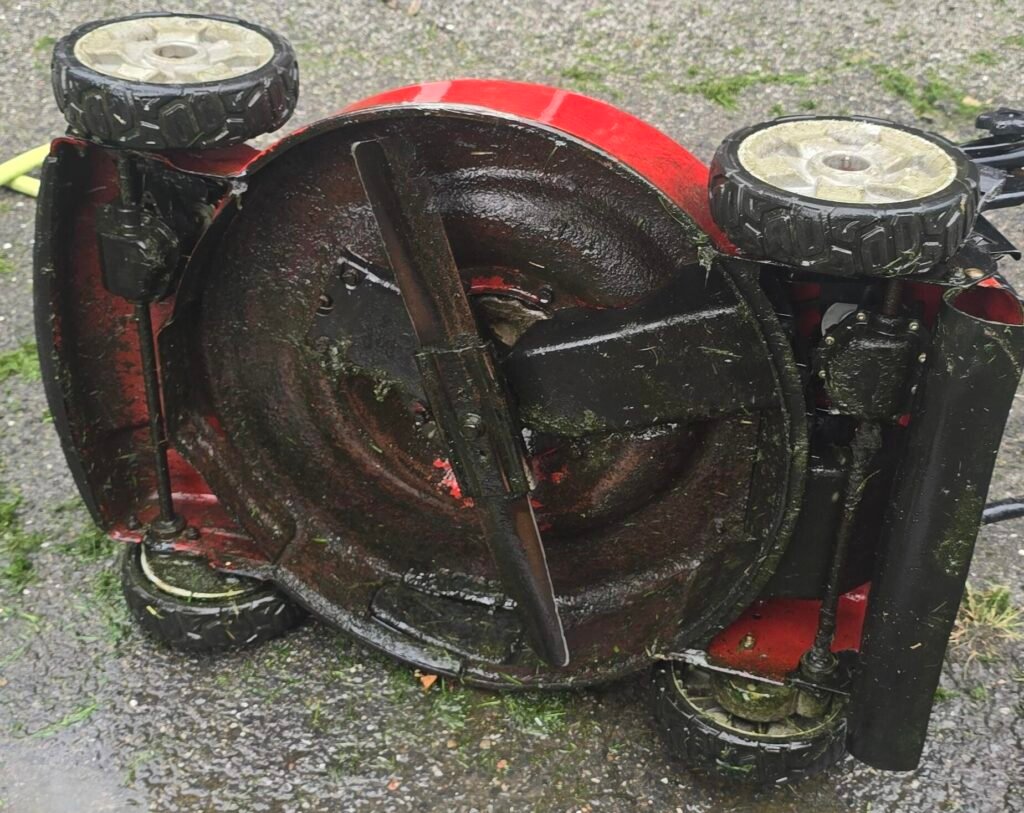
CRITICAL TIPPING RULE: When tilting a walk-behind push mower on its side, always keep the spark plug and air filter pointing UP toward the sky. Tipping it carb-side down can cause engine oil to drain into the air filter and carburetor, ruining the filter and causing a massive smoky headache next spring!
Step 2: Treat Your Fuel and Run the Engine Dry
Gasoline is one of the biggest causes of spring starting issues. Modern ethanol-blend fuels begin to degrade in as little as 30 days, attracting moisture and forming a sticky, gummy varnish inside the engine.
Why it matters: Untreated gas left in the carburetor over a 5-month winter nap will clog the tiny fuel jets and fuel lines, leaving you with a mower that won’t start when spring arrives.
How to do it:
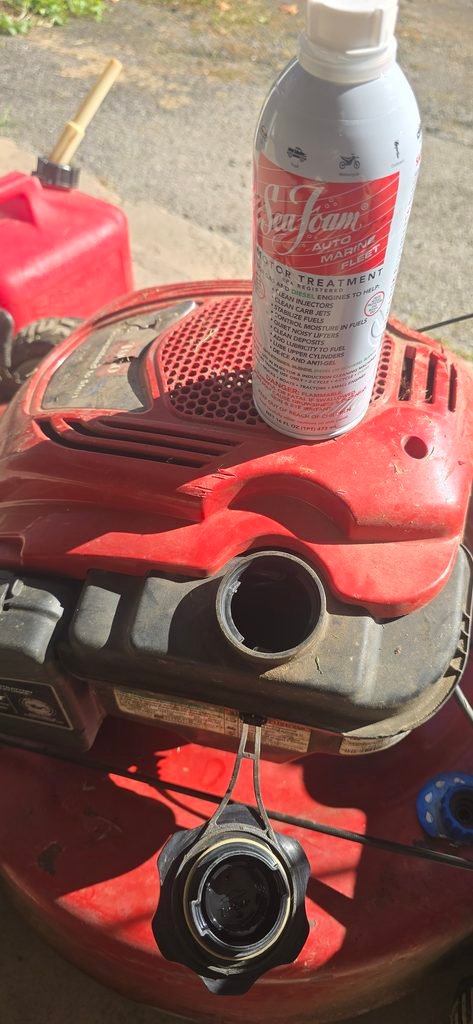
Add a fuel stabilizer/cleaner (like Sea Foam) into your gas tank to help clean out carbon buildup and treat the remaining fuel.
Keep running the mower for your final mows of the season so the treated fuel circulates fully through the entire fuel system.
On your final lawn care day of the year, start up the engine and let it run until it runs completely out of gas and stalls out. This ensures the carburetor bowl and fuel lines are dry and free from stale gas.
Step 3: Disconnect and Prep the Spark Plug
Working around lawn mower blades with a connected spark plug is a major safety hazard, but the spark plug hole also plays a role in winterizing the motor itself.
Why it matters: Disconnecting the spark plug wire prevents any accidental engine turnover while your hands are anywhere near the deck or blade. Additionally, protecting the internal cylinder wall prevents rust during damp winter months.
How to do it:
Disconnect the spark plug boot/wire.
Unscrew the spark plug and pour about a teaspoon of fresh, clean engine oil directly into the spark plug cylinder hole.
Pull the starter recoil cord slowly 3 to 4 times to distribute the oil evenly around the cylinder walls and piston rings.
Hand-tighten the spark plug back into place (or replace it with a fresh plug if it’s dirty or fouled).
Step 4: Change the Engine Oil (Optional, but Recommended!)
If you haven’t changed your mower’s oil all season, late fall is the best time to do it while the engine is still warm from its final run-dry cycle.
Why it matters: Used engine oil contains acidic combustion byproducts, moisture, and fine metallic debris. Leaving dirty oil sitting inside the engine for 5–6 inactive months can corrode internal engine components. Fresh oil keeps everything clean and protected until spring.
Step 5: Store in a Clean, Dry Location
Once your mower is scraped, drained, and prepped, store it inside a dry shelter such as a garage or shed.
Why it matters: Keeping your equipment off wet ground and protected from rain and snow prevents cables, control linkages, drive belts, and body panels from seizing up or rusting out over the winter.
Coming Soon: DIY Lawn Mower Blade Sharpening Video!
A dull mower blade tears grass rather than slicing it cleanly, leaving brown, frayed tips that make your lawn look ragged and vulnerable to disease.
Instead of paying a commercial shop $20–$30 to sharpen my mower blade every season, I’m planning to tackle the job myself in an upcoming fall video! I’ll walk through:
Safely removing the blade
Grinding and sharpening a clean edge
Balancing the blade to prevent engine vibration
My honest take on whether it’s something every DIYer can (and should) do at home.
Stay tuned for that video coming later this fall!