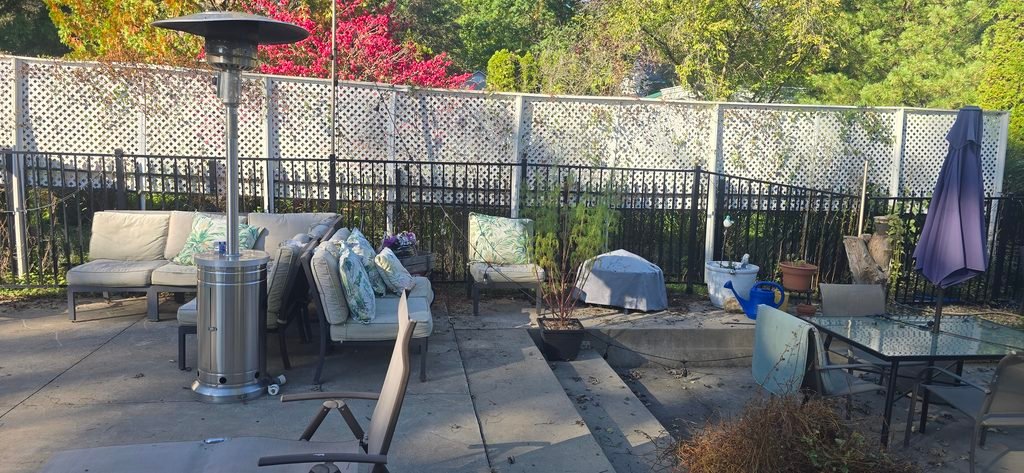
Few climbing annuals bring as much joy during summer as morning glories. Watching them cascade up trellises and fences into a wall of vibrant color is a highlight of the season. But once the first frost hits, those lush green vines quickly turn into tangled brown, dried-out thickets.
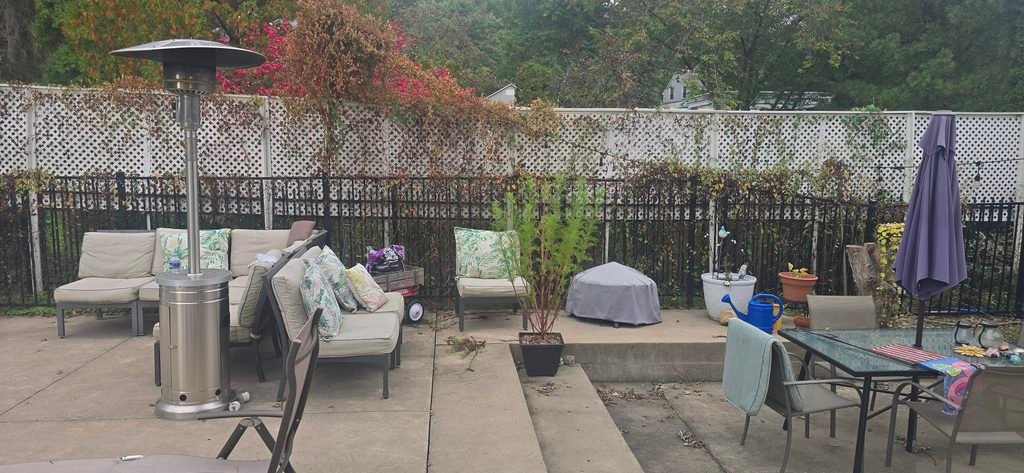
It can be tempting to leave dead vines alone and let winter take its course, but taking the time for end-of-season cleanup is essential for keeping your yard neat and your garden healthy for next year.
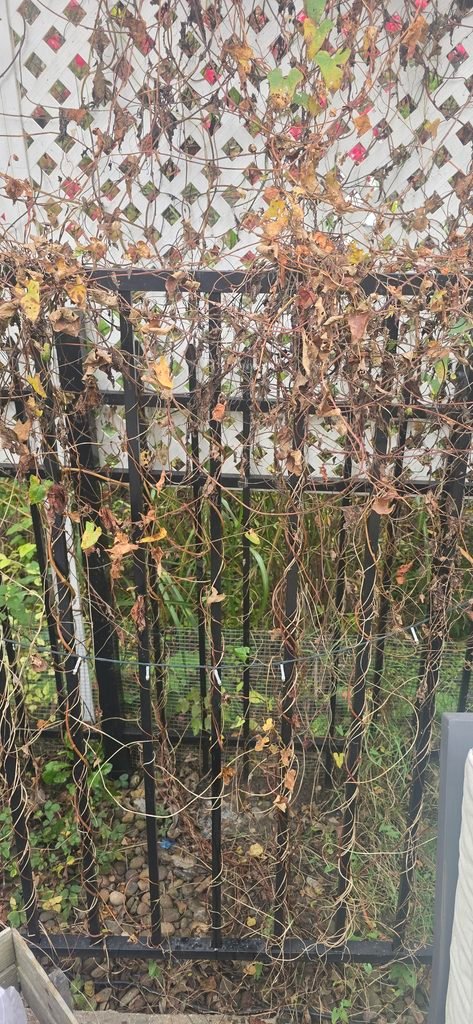
3 Reasons to Clear Dead Morning Glory Vines in Fall
1. Prevent Unwanted Pests and Rodents
Dense, dead foliage clinging to fences creates a cozy winter habitat for garden pests, spiders, and small animals seeking shelter from the cold. Removing spent vines eliminates these hiding spots before unwanted critters make themselves at home near your patio or living space.
2. Protect Your Structures from Moisture and Rot
Dead vines trap moisture against fences, lattice work, and nearby structures. Over time, trapped dampness accelerates wood rot, rusts metal hardware, and causes paint or finish on lattice to peel. Clearing away dead growth lets air circulate freely, protecting your structures through wet winter months.
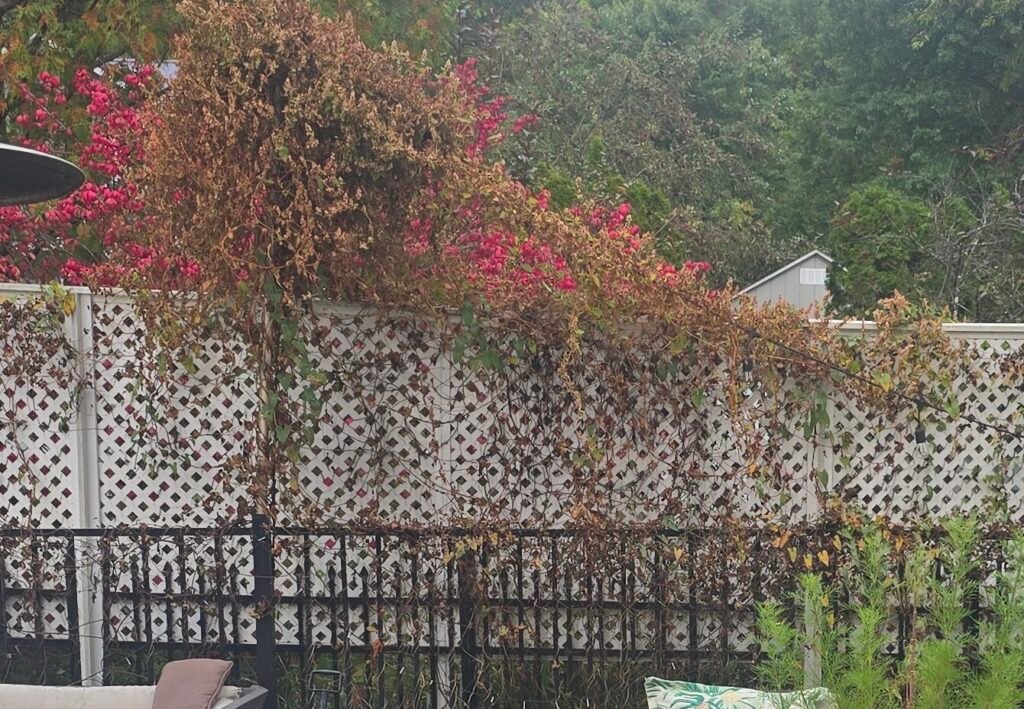
3. Clear Space for Next Year’s Growth
Morning glories are notorious self-seeders. Even though the vine dies back completely in cold weather, dropped seeds will sprout fresh, vigorous vines come spring. Clearing out the old, brittle skeleton gives new seedlings plenty of sunlight and room to climb without getting tangled in dead wood.
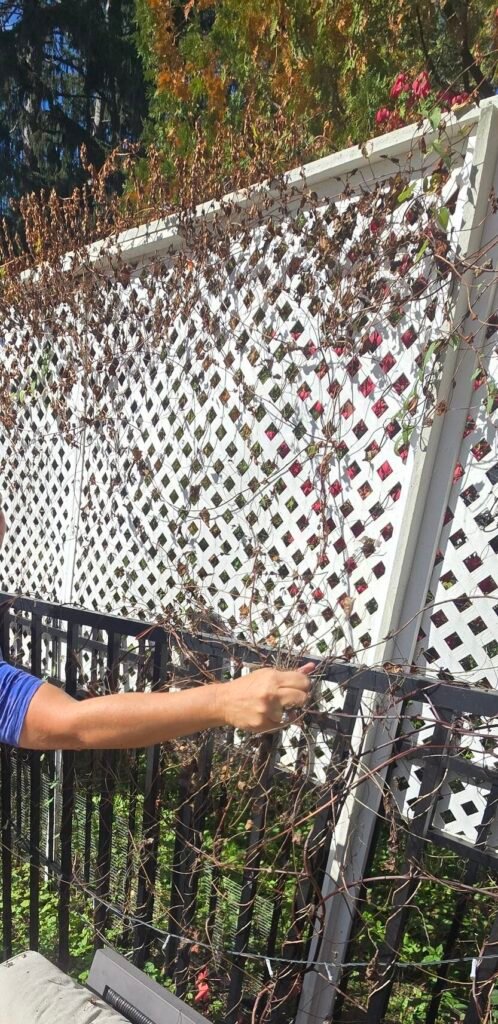
The Best Way to Remove Dead Vines Easily
Trying to pull dead vines off a fence by hand often results in snaps, frustrating snags, and leftover debris. A systematic approach makes the job fast and simple:
Use Bypass Pruners (Garden Shears): Handheld pruners or snips make quick work of thick main stems. Snip the vines at the base near the soil line first to sever anchor points.
Cut in Sections: Instead of pulling a 10-foot vine all at once, snip the main vertical runners every couple of feet. Once cut into manageable sections, the tendrils release from fence bars and lattice with a gentle tug.
Work Bottom-to-Top: Unraveling from the ground up prevents heavy sections from snagging on lower rungs as you pull them free.
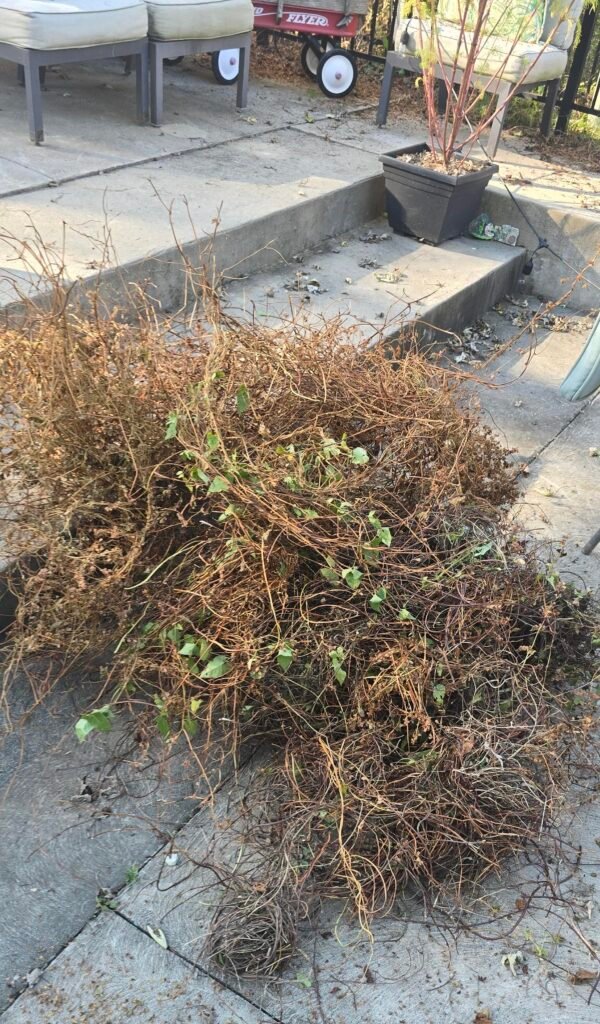
Extra Tips for Morning Glory Removal & Care
Manage Self-Seeding Seeds: As you remove dried vines, mature seed pods will shatter and drop. If you want them to return naturally next spring, let a few drop! If you want to control where they grow, gently shake dried pods into a bucket before pulling the vine down, or sweep up loose seeds from patio surfaces.
Proper Disposal: If your morning glories suffered from fungal issues or aphids during the season, burn or bag the dead vines rather than composting them, as home compost piles may not get hot enough to destroy residual spores or pest eggs.
Wear Gloves: Dried vines and seed pods can be scratchy on skin and hands. A quick pair of gardening gloves keeps cleanup comfortable, but we found it not necessary.