
The Problem: Freeze-Thaw Cycles & Endless Weeds
Over time, seasonal weather—especially the endless freeze-thaw cycles of snow and ice—causes concrete sidewalk slabs to shift. What starts as a hairline expansion joint quickly turns into a wide gap.
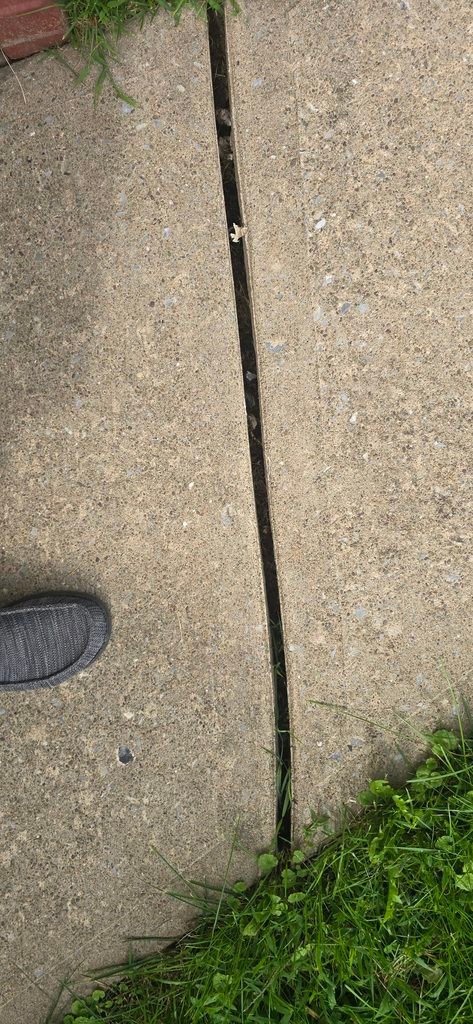
Left open, these gaps become a magnet for dirt, seeds, and moisture. Before long, you are constantly fighting stubborn weeds pushing through, and water pooling inside the gaps threatens to erode the base below or crack the concrete further during winter freezes.
Key Supplies Used
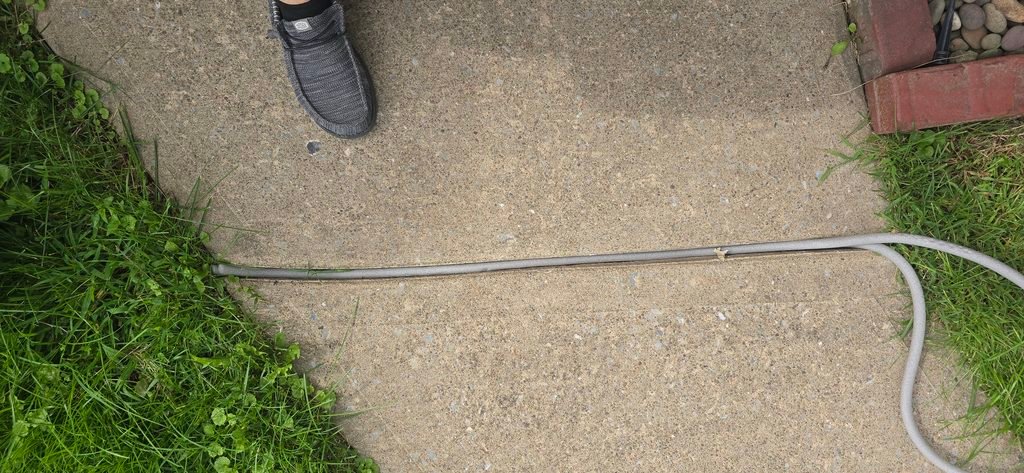
Foam Backer Rod / Caulk Saver: Flexible foam tubing designed to fill deep gaps before applying sealant.
Sikaflex Self-Leveling Sealant (29 oz Cartridge): A heavy-duty, polyurethane-based elastomeric sealant engineered specifically for horizontal concrete expansion joints.
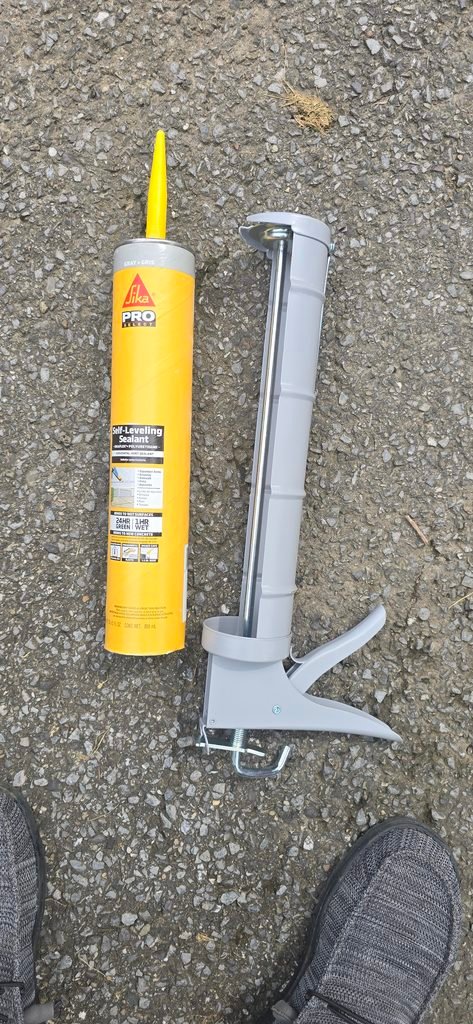
Large Sausage/Quart Caulking Gun: A heavy-duty frame designed for 29 oz commercial-sized tubes, making continuous long bead application significantly easier on the hands.
Wire Brush & Shop Vac: For thorough debris cleanup prior to installation.
Step-by-Step Restoration Process
Step 1: Deep Cleaning the Gaps
Before laying any sealant, the concrete gap must be completely free of dirt, old roots, and loose debris.
Scrape out weeds, soil, and organic matter from the joint.
Use a stiff wire brush along the inner edges of the concrete to remove chalky residue and loose concrete.
Vacuum or blow out the joint thoroughly—sealant will not adhere properly to dusty surfaces.
Step 2: Packing the Foam Backer Rod
For deep gaps, filling the entire space with polyurethane sealant is wasteful and can cause the product to slump or cure improperly.
Press foam backer rod firmly into the gap.
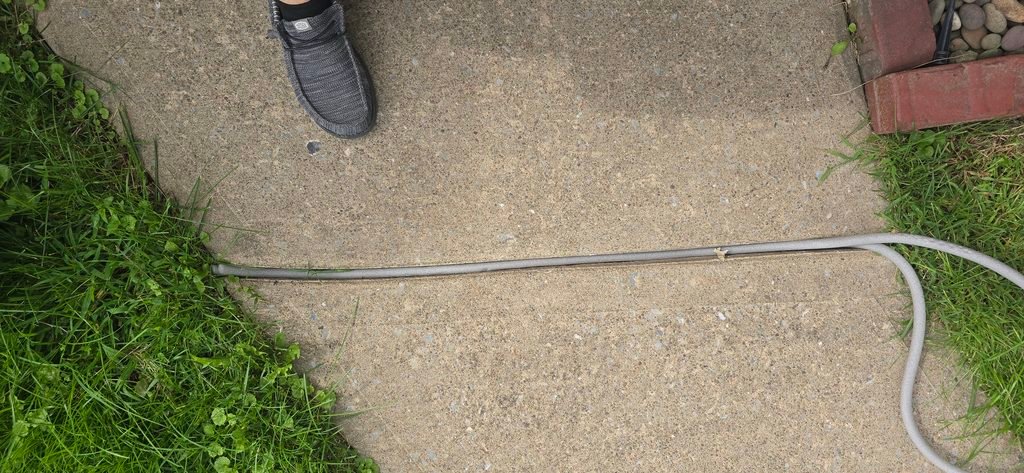
Crucial Tip for Readers: Ensure the backer rod sits approximately 1/4 inch to 3/8 inch below the top surface of the concrete. This creates a proper channel depth for the sealant to adhere to both side walls without spilling over the sidewalk top.
Step 3: Dispensing the Self-Leveling Sealant
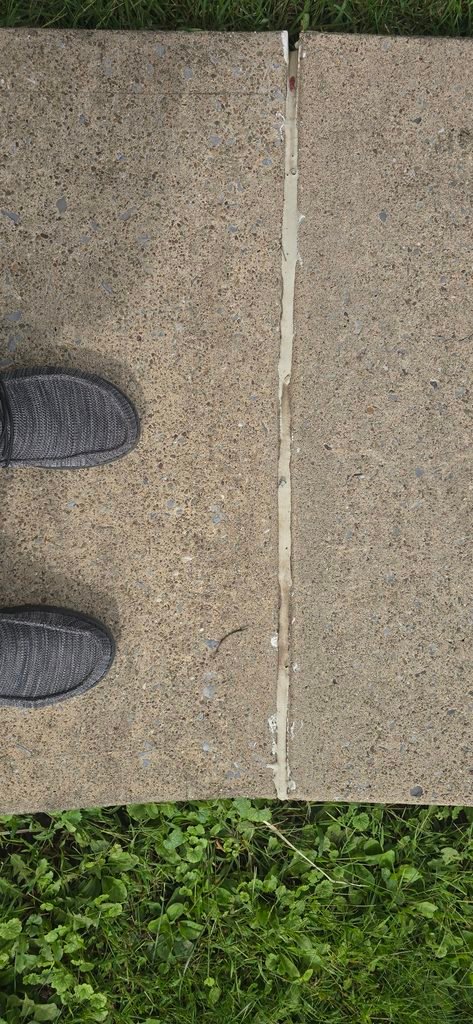
Using a 29 oz large-format tube and heavy-duty caulking gun apply the self-leveling sealant steadily directly into the joint.
Self-leveling polyurethane flows like thick liquid syrup. Slowly move along the joint, letting the compound expand across the width of the gap on its own.
Unlike standard vertical caulk, you do not need to tool or smooth this product with a trowel or finger. It naturally levels out to a smooth, flat surface.
Important Pro Tips & Reader Insights
Slope Warning: Self-leveling sealant flows rapidly to find its own level. It is fantastic for flat surfaces, but if your sidewalk has a steep slope or pitch, self-leveling sealant will run downhill. Use a non-sag polyurethane sealant for sloped control joints instead.
Temperature & Moisture Requirements: Apply when temperatures are consistently between 40°F and 90°F. Ensure the concrete is completely dry—moisture trapped in raw concrete can react with polyurethane sealants and cause bubbles during curing.
Cure Time: Keep foot traffic off the fresh joint for at least 24 hours. Full cure typically occurs within 3 to 5 days, leaving a flexible, waterproof barrier that expands and contracts with changing weather without cracking.