
Closing down your in-ground pool doesn’t have to be an over-complicated, stressful nightmare. If you’ve been paying a pool company hundreds of dollars every autumn, I’m here to tell you that you can do this yourself.
I’ve been closing my pool for several seasons now without any issues. Over the years, I’ve tweaked my routine to make it as smooth and stress-free as possible. Here is my straightforward, step-by-step process for getting your pool lines cleared out and prepped for winter.
Step 1: Water & Chemical Prep (Keep It Easy)
First things first: I get the pool water and chemicals as clean and balanced as reasonably possible.
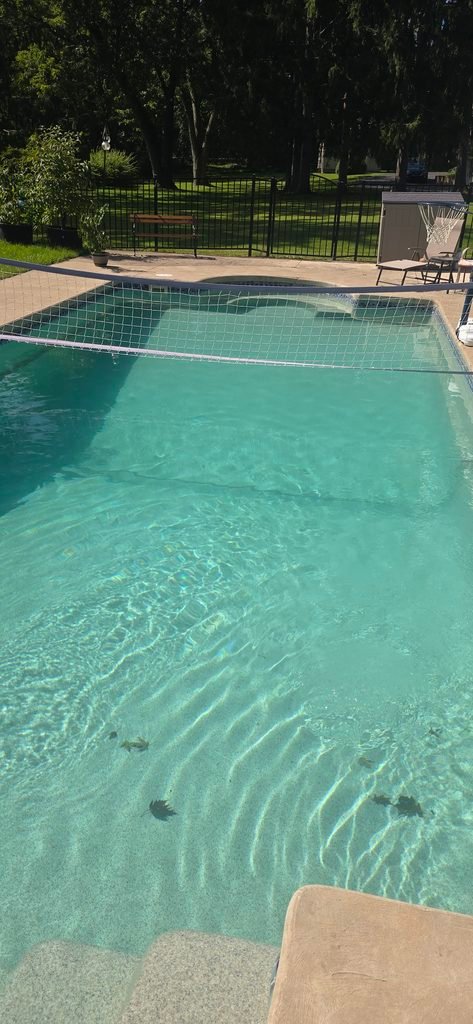
Now, full disclosure—I am not a strict perfectionist when it comes to fall chemical balancing. I don’t obsess over getting every single reading down to the micro-decimal. Why? Because when spring rolls around, I’m going to shock it, clean it up, and balance it all over again anyway. Plus, I don’t jump into the water on opening day! Within a few days of opening in the spring, the filtration system gets everything sparkling clean regardless.
So do your basic chemical treatment, but don’t stress yourself out trying to reach absolute chemical perfection.
Step 2: Lowering the Water Level
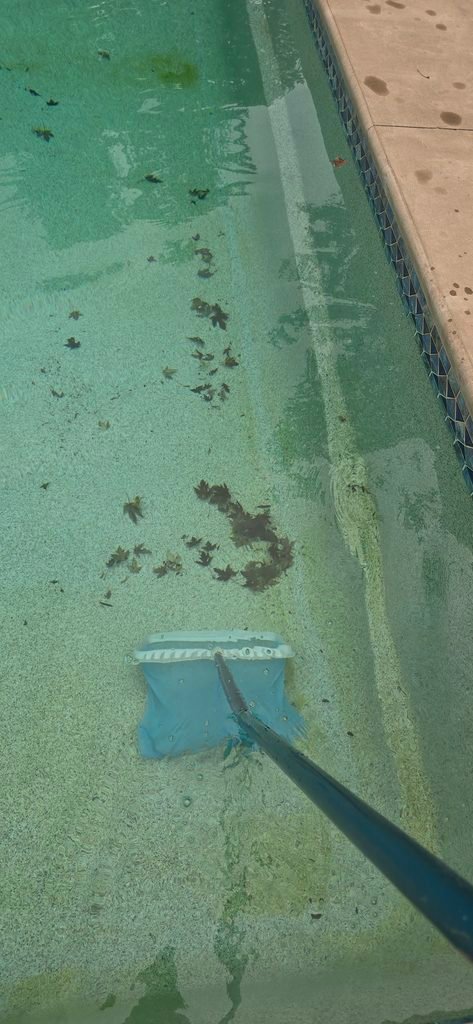
I prefer to drain my pool water down to just below the skimmer line.
Lowering the water level below the skimmer throat gives me complete peace of mind. It ensures the intake/inlet for the water going into the skimmer is as dry as possible before I start clearing out the lines.
Step 3: Isolating the Equipment & Draining the Filter
Once the water level is safely below the skimmer, head over to your pool pump and pad:
Close all inlet valves/pipes to isolate the system.
Drain your sand filter completely by opening its drain cap at the bottom to get as much water out as you can.
Set your multiport valve to “Closed.” Keeping the sand filter valve closed after draining prevents air or water from escaping through the filter while you blow out the lines.
Step 4: Blowing Out the Skimmer Line & Using the Shop-Vac
Next, it’s time to blow out the lines using an air compressor hooked up via a standard pool blow-out adapter on the equipment side.
(Note: I use a small, standard portable pancake air compressor—around 3 to 6 gallon / 135 PSI class that you can easily grab at Lowe’s or home improvement stores—and it gets the job done great!)
Here’s how I clear the skimmer line:
Open ONLY the skimmer line valve at the pump while leaving the filter closed.
Blow air through the line to push out standing water.
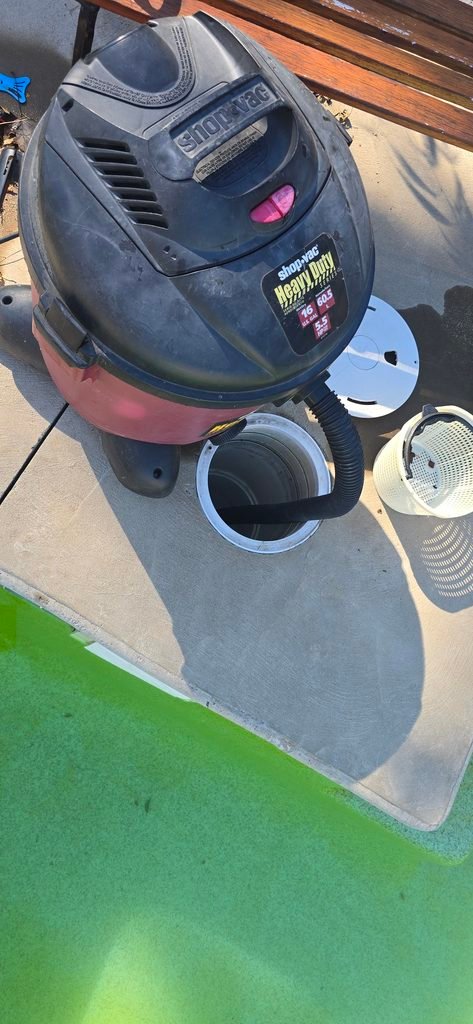
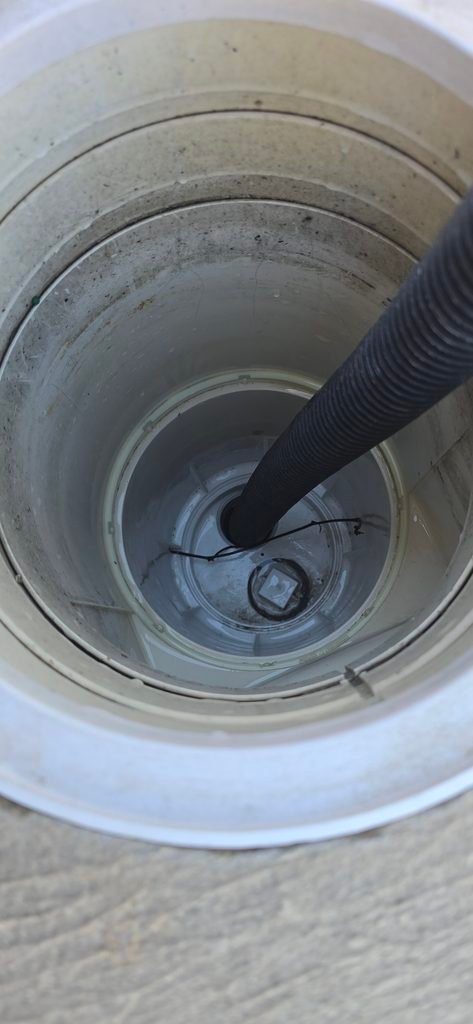
Use a Shop-Vac at the skimmer: To be 100% thorough, I take a Shop-Vac down to the skimmer opening and stick the hose directly into the intake hole to suck out any remaining water while the air compressor pushes from the other side. This combination gives total reassurance that the pipe is as dry as possible.
Step 5: Sealing the Skimmer & Adding Antifreeze (Optional)
The “bobber” piece you screw into the bottom of your skimmer basket is called a Gizzmo (or Skimmer Compensator / Freeze Plug).
Here is what you do at this stage:
Optional Antifreeze: If you want extra peace of mind, now is the time to pour a jug of RV/Marine Antifreeze (Propylene Glycol) directly down the skimmer line. (Note: Never use regular automotive antifreeze or household alcohol!)
Seal the Line: Make sure to close off the skimmer valve back at the pump pad so water can’t pull back through.
Install the Gizzmo: Screw the Gizzmo tightly into the threaded hole at the bottom of the skimmer housing.
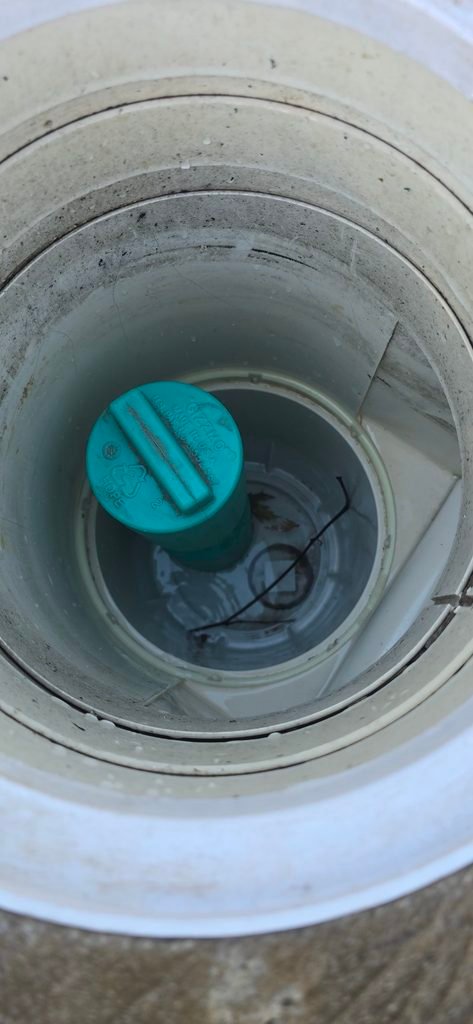
Why the Gizzmo matters: The Gizzmo serves two purposes: it seals the pipe so water from rain and snow can’t run back down into your blown-out lines, and its hollow plastic tube acts as an expansion absorber. If water accumulates in the skimmer housing over winter and freezes, it crushes the Gizzmo instead of cracking your expensive skimmer plastic!
By the time spring comes around, snowmelt and rain will naturally raise your pool water level back up right where you want it.
Pingback: DIY In-Ground Pool Closing: A Real-World Guide to Doing It Yourself (Part 2) – Backyard Living DIY