
Introduction: Closing your above-ground pool correctly at the end of the season protects your liner, equiptment, and walls from harsh winter weather. Taking a few proactive steps in the fall saves hundreds of dollars in repair costs and makes spring opening smooth and simple. Here is a practical, step-by-step guide to winterizing your above-ground pool like a pro.
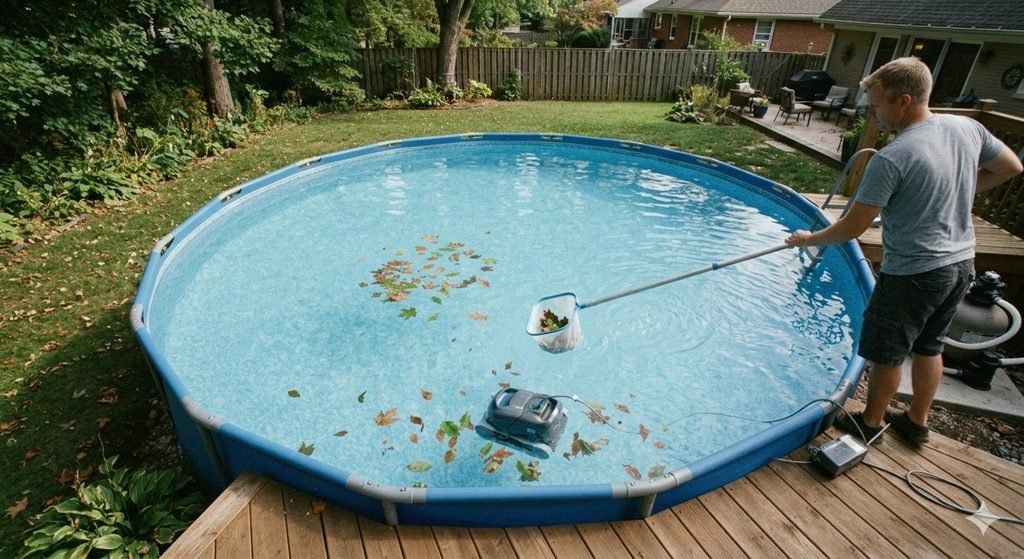
- Clean and Vacuum the Pool thoroughly: Before adding winterizing chemicals, ensure the pool water is clear of debris. Vacuum the floor, skim leaves off the surface, and brush the liner walls. Any organic matter left in the pool over winter will break down and cause stubborn algae stains by spring.
- Balance Water Chemistry: Test your water 24 to 48 hours before closing. Proper chemical levels protect your liner from scaling or corrosion during the off-season. Aim for these target ranges:
pH: 7.2 – 7.6
Alkalinity: 80 – 120 ppm
Calcium Hardness: 175 – 225 ppm

3. Add Winterizing Chemicals & Shock: Shock the pool with a high-dose chlorine or non-chlorine shock to kill remaining bacteria. Allow the pump to run for a full cycle, then add a quality winter algaecide to prevent algae growth under the dark cover.
4. Lower the Water Level: Lower the water level below the skimmer mouth and return jet lines. For above-ground pools with a skimmer plug (like a Aquador), you can keep the water level at normal height, but dropping the water 4 to 6 inches below the skimmer is standard practice to prevent freezing expansion damage.
5. Drain Equipment and Lines: Disconnect hoses from the skimmer, return jets, filter, and pump. Completely drain water from the pump housing, filter tank, and heater. Store your pump and removable equipment indoors in a dry, frost-free location for the winter.
6. Install the Air Pillow and Winter Cover: Inflate a heavy-duty pool air pillow to roughly 60–70% capacity (leaving room for ice expansion) and center it in the pool. Pull your solid winter cover over the pool, thread the steel cable through the grommets, and secure it tightly with the winch mechanism.